This afternoon I panicked a little realizing it's the last day of June. No wonder the linky is called OMG :) I always feel like OMG it's the end of the month again. Lucky for me my goal was not a hard one.
I put the selvages together during the month. I ended up with a square approx 12" big. I just had to make decision what kind of pouch to make and find matching zipper.
I cut the square in half making two small girlie pouches.
No particular recipient yet but a cute little finish. Yay!
Last month I did not choose any goal. I was kind of tired and I missed the one for April. I usually love the beginning of new month. Something new starts and I'm full of expectations. On the other hand at the end of month I usually realize I did not meet any and the month is gone.
What is going on at my place this month? Well look at my pretty little corner. It's gone! We are switching rooms, moving around the house. My older girl needs room for herself so we are making necessary changes.
I'm currently relocated in living room that's where my designer's wall already is. I put up few more projects which were lying on my table and elsewhere. It's so pretty to look at but I haven't touched the machine yet.
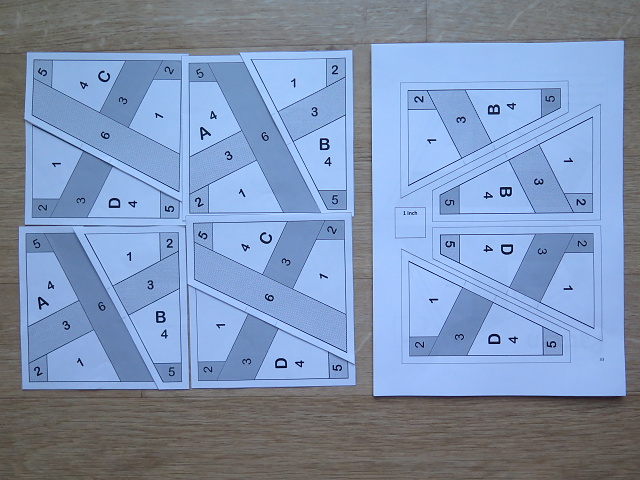
I'm also trying to clean up my drawers and stuff prior moving into "new space". I found this pattern all printed out and ready to be made. If only I choose the right fabrics...
I have also found these pretty selvedges. I'm not very ambitious with everything going on so I choose these as my June OMG goal. Turn them into something. Probably zipper pouch. It took me 6 days to write this post that's a good start isn't it? :)
I can't believe it took me month to bind these two bits. I haven't been much company to any of you lately. I guess I just needed a little break.
Let me tell you some background story for the STAY mug rug. Way back I was inspired by Ruth and this post. I knew I wanted to play with these confetti tiny pieces as well.
At first I ironed those pieces to fusible interfacing. I covered it with sheer fabric and lay piece of fabric on top. Those letters are cut out as you can see it here.
Is it a message or what the heck does the STAY stands for?
I wanted to take a part in New Bloggers blog hop and send out a message to those that are leaving my blog. I know shocking but some followers left and this is a message for them to STAY! I'm kidding but I just wanted to let others know that is perfectly normal that your stats numbers are changing.
Plus the inspiration came from U2 song STAY. I don't have USB slot in my car radio and I'm picking up old CDs I haven't listen to in years. So before you hit that unfollow button remember how Bono sings STAY ... :)
I made the backside during the Selvage along so no wonder selvages are included.
I my second attempt I did not iron those pieces at all. I just lay them down on piece of interfacing covered with sheer fabric and added some zig zag stitch all over. Then I lay the fabric with cut out triangles on top.
You might see the texture in full sun a bit better.
The other side is made out of geese block leftovers. Not sure if to call this a mug rug. Some sort of mini it is I guess. It'll make nice gift to someone. I feel Christmas just behind the corner. Let's link it to Ho, Ho, Ho and on we Sew!
If you are curious about the size. These finished 6x8"and 6.5x8". It is kind of funny that I finished these small scrappy projects prior the original one (quilt and cushions). I just like to play rather than really quilt, lol.
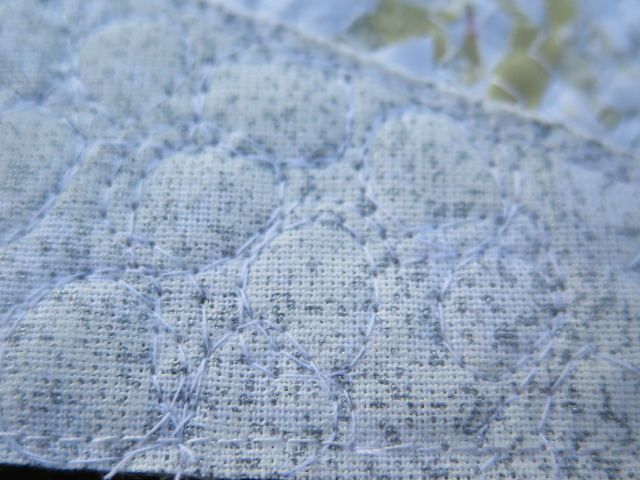
If you are curious about the quilting stage of my two experiments, here are some pics just for you.
Since I had white thread in I started with the Christmas one. I added a bit of FMQ. I was going for little bubbles but truly I couldn't see where I was going. So there is some quilting in there :)
It is really hard to photograph. Just imagine my usual anyhow style.
There are only straight lines on the back.
The tiny size looks so cute.
And finally I have changed the thread to grey. I took deep breath a added the quilting to my first experiment as well.
Not so visible is it?
Here is the back side to show up the quilting a bit more.
How long does it take to bind those two? Who knows :)
Linking up with:
I have this project on my Q3 FAL list and it's been there for a while. You can see I was definitely undecided back then which spelling to use and I messed up both and called it Selvadge, lol.
When Renee asked me if I want to participate in their Selvage along I said YES! Welcome to my stop of Selvage along hosted by Renee and Jessica.
I'm not sharing any tutorials but I hope you'll find some inspiration. My bag is based on tutorial by Ayumi called Lunch bag. I just up sized it a bit.
I sewed all my selvages on piece of interfacing but it wasn't big enough so I cut it in half and added solid bottom.
If you are curious about the size. My exterior piece was 64x38cm. The bottom strip was 15cm wide. I cut the lining as one piece as well. I just place the exterior piece on lining fabric and cut all around. There is no seam at the bottom which is my preferred way of making bags.
The reason why it took me so long to finish this bag was that I couldn't decide on which fabric to use. I settled on darker orange linen and quilted with variegated thread.
The cover is simple Ikea B&W fabric. Once you fold it down it is like bucket or tote bag.
Maybe you have noticed I made the rim taller (10cm) as well. I just wanted the bag to be an adult size.
I wanted to make one for myself ever since I made that first one on left. That is the original size.
Since we are talking selvages here are few more projects I previously made. The first one is variation on pouch called Sleeping bag. It uses endless zipper.