I have this project on my
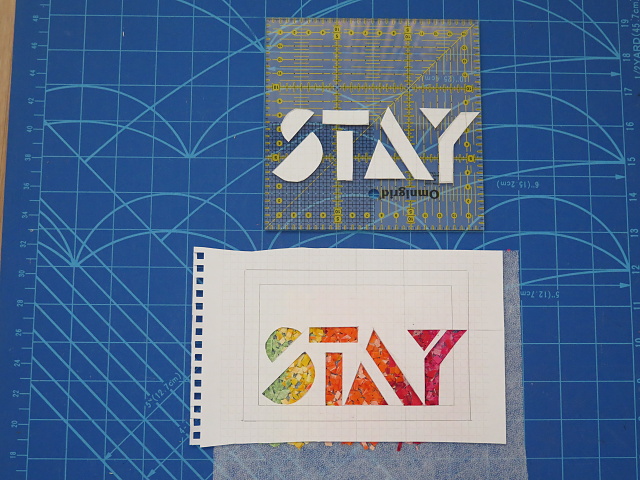
Q3 FAL list and it's been there for a while. You can see I was definitely undecided back then which spelling to use and I messed up both and called it Selvadge, lol.
When
Renee asked me if I want to participate in their Selvage along I said YES! Welcome to my stop of Selvage along hosted by
Renee and
Jessica.
I'm not sharing any tutorials but I hope you'll find some inspiration. My bag is based on tutorial by Ayumi called
Lunch bag. I just up sized it a bit.
I sewed all my selvages on piece of interfacing but it wasn't big enough so I cut it in half and added solid bottom.
If you are curious about the size. My exterior piece was 64x38cm. The bottom strip was 15cm wide. I cut the lining as one piece as well. I just place the exterior piece on lining fabric and cut all around. There is no seam at the bottom which is my preferred way of making bags.
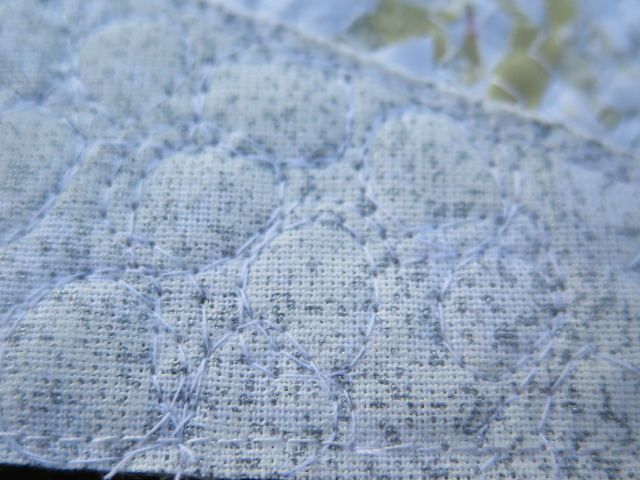
The reason why it took me so long to finish this bag was that I couldn't decide on which fabric to use. I settled on darker orange linen and quilted with variegated thread.
The cover is simple Ikea B&W fabric. Once you fold it down it is like bucket or tote bag.
Maybe you have noticed I made the rim taller (10cm) as well. I just wanted the bag to be an adult size.
I wanted to make one for myself ever since I made that first one on left. That is the original size.
Since we are talking selvages here are few more projects I previously made. The first one is variation on pouch called
Sleeping bag. It uses endless zipper.
This is one
exterior piece open wide pouch. Read more
here.
Selvages are perfect for the final touch on your pincushions as well. No matter if it is giant or skinny. Details
here.
Here is the full schedule of the blog hop:
July 24 - Linky - selvage projects on both blogs
Sept. 21 - Last linky party- link up all your selvage projects!
Linking up with
Finish it up Friday!